86-592-5659128 (to8016)

anna@xmydx.com
OEM Remote Control Keypad
Product Categories
Share
New Products
Subscribe
Subscribe to our newsletter to receive news,updates, and special offers by email.
How to Fix Rubber Seal Around Car Door? A Step-by-Step DIY Guide

2025-04-15 14:07:14

Introduction to Car Door Seal Repair

car door seal

Car door seals (or weatherstrips) are critical for maintaining airtightness, reducing noise, and preventing water leaks. Over time, seals can crack, peel, or lose their flexibility due to UV exposure, extreme temperatures, or physical damage. Fixing a faulty door seal is a manageable DIY project if you have the right tools and patience. This guide will walk you through the process step-by-step.


Tools and Materials Needed


Before starting, gather these essentials:

  1. New Weatherstrip: Match the exact type and length of your car’s original seal (check your owner’s manual or buy from a parts store).
  2. Utility Knife or Razor Blade: For trimming excess material.
  3. Adhesive: Use a high-quality automotive adhesive (e.g., 3M Weatherstrip Adhesive or silicone-based glue).
  4. Screwdrivers and Pliers: To remove trim pieces or clips.
  5. Rubber Lubricant: Helps in aligning the seal smoothly.
  6. Clean Rags and Isopropyl Alcohol: For cleaning surfaces.
  7. Measuring Tape and Marker: For precise measurements.

Step 1: Inspect the Door Seal

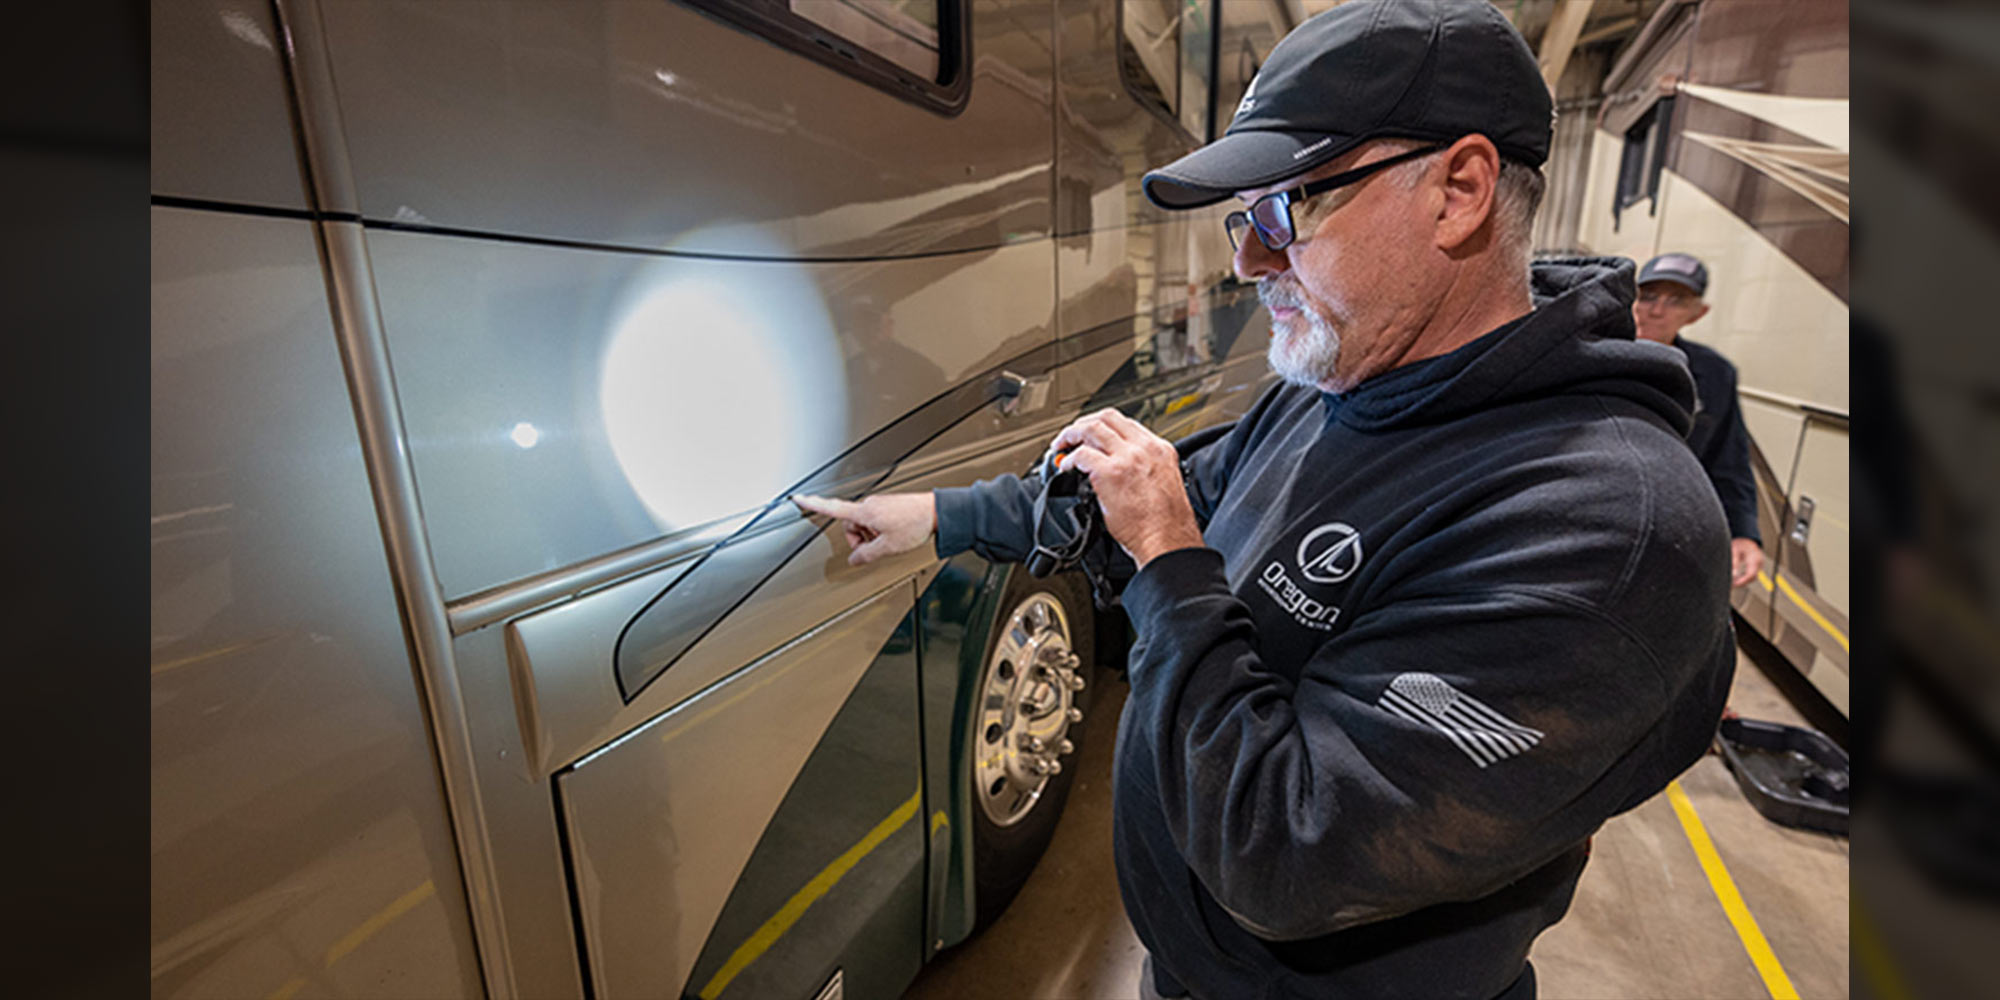
Start by assessing the damage:

  • Look for cracks, missing pieces, or areas where water is seeping in.
  • Check if the seal is loose or detached from the door frame.
  • If the seal is only partially damaged, you may need to replace the entire strip for consistency.

Pro Tip: Use a flashlight to inspect corners and edges where damage is often hidden.


Step 2: Remove the Old Door Seal

  1. Remove Trim Pieces: Use a pry tool to gently detach any door trim panels (e.g., molding around windows).
  2. Locate Clips and Adhesive: Most seals are held in place by clips, screws, or adhesive. Use pliers to remove clips or unscrew fasteners.
  3. Peel Off the Seal: Gently work the old seal away from the door frame. If it’s stuck due to old adhesive, apply heat with a hair dryer to soften it.
  4. Clean the Surface: Wipe down the door frame with isopropyl alcohol to remove residue.

Step 3: Install the New Weatherstrip

pplying adhesive to the door frame

  1. Apply Adhesive: Spread a thin, even layer of automotive adhesive along the door frame where the seal will attach. Avoid overapplying, as it can ooze and create a mess.
  2. Position the Seal: Carefully align the new seal with the door frame, starting at a corner. Use rubber lubricant to ease bending if the seal is stiff.
  3. Secure Clips and Fasteners: Reattach clips or screws to hold the seal in place. Work slowly to ensure proper alignment.
  4. Trim Excess Material: Use a utility knife to cut off any overlapping edges.

Step 4: Test and Finalize the Repair

Testing the door seal by closing it tightly

  1. Close the Door: Check if the seal compresses evenly and seals tightly. Listen for air leaks or rattles.
  2. Reattach Trim Panels: Secure any trim pieces you removed earlier.
  3. Wait for Adhesive to Cure: Follow the adhesive manufacturer’s instructions (typically 24–48 hours). Avoid washing the car until the seal is fully set.

Common Issues and Solutions

Problem 1: Seal Won’t Stay in Place

  • Solution: Reapply adhesive or use additional clips. Ensure the door frame is clean and dry before installation.

Problem 2: Water Still Leaks After Repair

  • Solution: Check for gaps in the seal or underlying rust. If rust is present, treat it with anti-corrosion primer before resealing.

Problem 3: Difficulty Aligning the Seal

  • Solution: Use rubber lubricant to reduce friction. Work in sections rather than trying to install the entire seal at once.

Maintenance Tips to Extend Seal Lifespan

A well-maintained car door seal

  • Regular Inspections: Check seals annually for wear and tear.
  • Clean with Mild Soap: Avoid harsh chemicals that can degrade rubber.
  • Lubricate Moving Parts: Use silicone-based lubricant on hinges and rollers to reduce stress on the seal.

Conclusion

Replacing a car door seal is a cost-effective way to restore your vehicle’s comfort and safety. With patience and the right tools, you can complete this project in a weekend. Remember to prioritize quality materials and precision during installation to ensure long-term results.


FAQs

Q: How long does a car door seal last?
A: Typically 5–7 years, but this depends on climate and driving conditions.

Q: Can I repair a cracked seal without replacing it?
A: Minor cracks can be temporarily fixed with rubber adhesive, but full replacement is recommended for durability.

Q: Is it worth doing this repair myself?
A: Yes! DIY saves money compared to dealership costs, provided you follow safety precautions.


Call-to-Action: Upgrade your car safely – Shop Silicone Utensils or Request a Sample Kit.


© 2016 XIAMEN YIDEXIN SILICONE RUBBER INDUSTRIAL CO.,LTD All Rights Reserved dyyseo.com

Online Contact

top